

Smooth Drywall Finishing for Paint-Ready Walls in Greater Fort Wayne
Taping, mudding, sanding, and priming done with care so walls and ceilings come out flat, smooth, and ready for paint across Hudson and Greater Fort Wayne, Indiana.
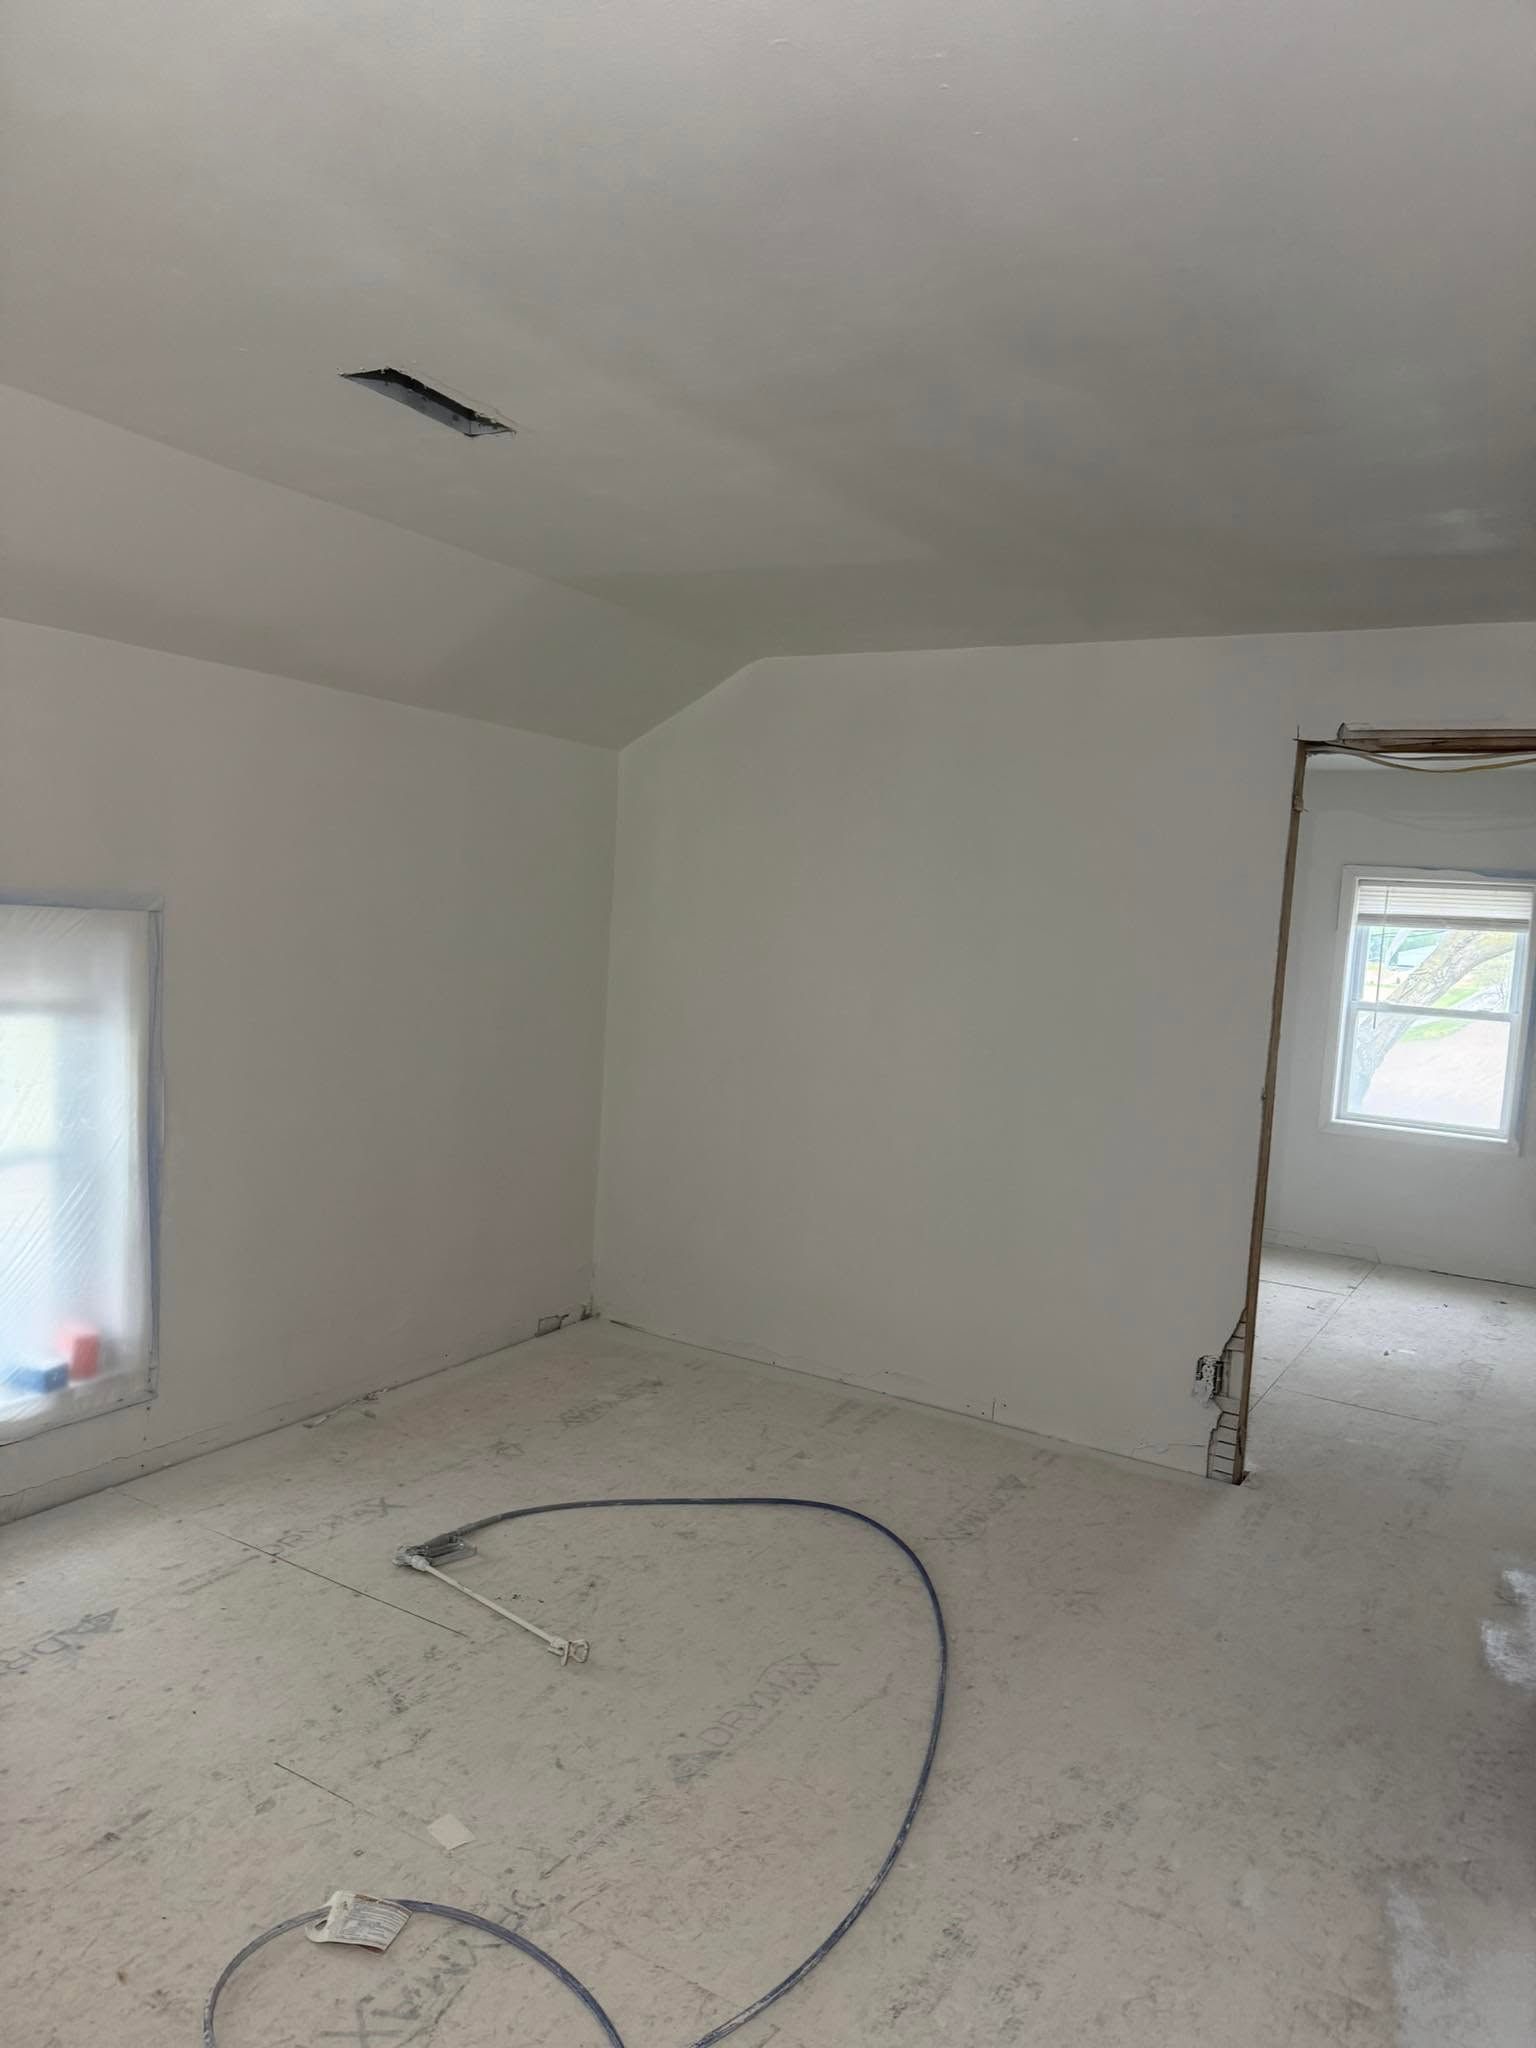
DRYWALL FINISHING
What Is Drywall Finishing and Why Does It Matter?
Drywall finishing is the work that turns freshly hung board into a smooth, paint-ready surface. It includes taping the seams, embedding corner bead, applying several coats of joint compound, sanding between coats, and priming. At Perez Constructions, we finish drywall to the level your room needs, so seams and screw heads disappear once paint goes on.
Based in Hudson, Indiana, we finish drywall in new additions, basements, remodels, and commercial spaces throughout Greater Fort Wayne and the surrounding Northeast Indiana area. Finishing is where most of the visible quality of a wall is decided. Flat paint, glossy sheens, and bright windows or ceiling lights all reveal ridges, flashing, and uneven joints, so we match the level of finish to the lighting and the paint you plan to use. We keep dust under control, sand carefully, and inspect every wall under strong light before priming, because small flaws become obvious after the paint dries.
✓ Seams taped and fully embedded
✓ Multiple thin coats of compound
✓ Level 4 and Level 5 finishes
✓ Careful sanding with dust control
✓ Straight, crisp outside corners
✓ Primed and ready for paint
PAINT READY
Hudson & Fort Wayne, IN
FINISHING DONE RIGHT
Finishing Work That Hides Every Seam and Screw
Two crews can hang the same drywall and end up with very different walls, and the difference is almost always in the finishing. Joints that are under-filled, over-sanded, or rushed between coats show through as lines and bumps once the paint dries. We take finishing one coat at a time, letting compound dry properly and checking our work in angled light. The result is a surface that looks flat from any angle and accepts paint evenly. These are the parts of the finishing process we focus on most closely.
Taping and Embedding
Paper or mesh tape is bedded tightly into compound along every seam and inside corner, with no air pockets or loose edges that could bubble or crack later.
Mudding in Coats
We apply joint compound in several thin, widening coats over seams, butt joints, and fasteners, letting each coat dry fully so shrinkage does not leave hollow lines.
Levels of Finish
We explain the industry levels of finish and recommend the right one, such as Level 4 for most painted rooms or a Level 5 skim coat for critical lighting.
Corner Bead Finishing
Outside corners get metal or vinyl bead set straight, then built up and feathered so edges look sharp and hold up to the bumps of daily life.
Sanding and Dust Control
Each coat is sanded smooth without scuffing the paper face, and we contain and clean up dust so the rest of your home stays as clean as possible.
Priming for Paint
A quality drywall primer seals the compound and paper to the same porosity, which prevents flashing and helps your finish paint dry with an even, uniform sheen.
How Your Drywall Finishing Goes From Bare Seams to Paint-Ready
Good finishing takes patience, and it follows a steady order from tape to primer. These are the steps we take on every finishing job so the surfaces look consistent and smooth and the paint goes on evenly from wall to wall.
01
Surface Check
We look over the hung board for loose fasteners, damaged paper, and gaps, fixing those first so the finishing coats have a solid base to build on.
02
Finish Level Planning
We talk about lighting, paint sheen, and how the room will be used, then agree on the level of finish so expectations are clear before work starts.
03
Prep and Protection
Floors, windows, and fixtures are covered, work areas are sealed off where possible, and air movement is set up to help compound dry evenly between coats.
04
Tape and Coats
Seams are taped, then filled and feathered with successive coats of compound, with drying time respected between each coat so the joints stay flat.
05
Sand and Inspect
We sand every surface smooth and check it with a work light held at an angle, touching up any ridge, pinhole, or low spot we find.
06
Prime and Walkthrough
Walls and ceilings are primed, the area is cleaned, and we walk the room with you so you can see the finished surface before painting begins.
DETAIL FOCUSED
How it works
Ready for Drywall That Looks Flawless Under Paint?
Finishing is detail work, and it fits the way Perez Constructions approaches every job. We explain the level of finish we recommend and why, tell you honestly how long drying will take, and keep you updated as each coat goes on. We do not rush compound to stay on a schedule, because that is how seams end up showing through paint. Carlos and our crew treat your home with respect, protect your floors and furnishings, and clean up thoroughly at the end of each stage of the work.
Smooth, well-finished drywall makes every coat of paint look better and every room feel more complete. Whether you are finishing a new basement in Fort Wayne, completing an addition, or refinishing walls after a remodel elsewhere in Northeast Indiana, we bring the same patient, careful approach to taping, mudding, and sanding. If your project also needs new board hung first, we can handle drywall installation as well. To plan your drywall finishing, call us or fill out our contact form.
What Level of Drywall Finish Does Your Room Need?
The right finish level depends on lighting, paint sheen and how the room is used. Garages and utility spaces can get by with less, while living areas need smooth, fully feathered seams. Rooms with strong side light or glossy paint benefit from a full skim coat so joints never show through in Greater Fort Wayne, Indiana homes.
Finishing is where hung board becomes a wall you are proud of. Most visible flaws in a painted room, from ridged seams to fastener dimples, come from rushed taping and sanding rather than the drywall itself.
The Finishing Process Step by Step
- Inspect the hang. We check for loose sheets, wide gaps and protruding fasteners before any compound goes on.
- Tape the joints. Paper or mesh tape is embedded over seams, and corner bead protects outside corners.
- Apply fill coats. Thin coats of compound build up seams and cover fasteners, with drying time between coats.
- Feather wide and sand. Each coat is spread wider than the last and sanded smooth to blend into the board.
- Check under raking light. A light held at a low angle reveals ridges and dips that are easy to miss.
- Prime for paint. Primer seals the paper and compound so the finish coat looks even across the wall.
What Affects the Finishing Timeline
- Humidity and temperature. Compound dries more slowly in humid Indiana summers and cold, unheated spaces.
- Number of coats. Higher finish levels and skim coating add coats and drying time.
- Ceiling height and layout. Vaulted ceilings, stairwells and many corners take more careful work.
- Condition of the hang. Tight, well-fastened board finishes faster than uneven or gapped sheets.
Finishing pairs naturally with drywall installation before it and drywall texturing or painting after it. To talk through the finish your rooms need, call us or fill out our contact form.
Common questions
Frequently Asked Questions
Finishing terms like levels, skim coats, and flashing can be confusing. These answers explain what goes into professional drywall finishing and what you should expect before your walls and ceilings are ready for paint.
What are the levels of drywall finish?
Drywall finishing is commonly described in levels from 0 to 5. Level 0 is bare board, and each higher level adds more taping and compound. Level 4 is typical for most painted walls in homes. Level 5 adds a thin skim coat over the entire surface and is used where strong light or glossy paint would reveal small imperfections.
Do I need a Level 5 finish?
Not always. A Level 5 finish is worth considering for walls with long sight lines, large windows that cast light across the surface, bright ceiling fixtures, or paint with a higher sheen. For most bedrooms, basements, and living spaces with flat or eggshell paint, a well-done Level 4 finish looks excellent. We help you decide based on your room.
How long does drywall finishing take?
Finishing usually spans several days because each coat of compound must dry before the next goes on or sanding begins. Room size, humidity, temperature, and the level of finish all affect drying time, and humid Indiana summers can slow things down. We give you a realistic schedule after seeing the space and keep you posted as each stage is completed.
Why can I see seams through my painted walls?
Visible seams usually come from joints that were not feathered wide enough, compound that shrank because it was not fully dry, over-sanding that roughed up the paper, or skipping primer. Paint can also flash, looking shiny in some spots and dull in others. We fix these problems by refinishing the joints, skim coating where needed, and priming properly.
How much does drywall finishing cost?
Cost depends on square footage, ceiling height, the number of corners and joints, the level of finish you choose, and whether priming is included. A Level 5 finish takes more labor than a Level 4. We do not quote prices sight unseen. We visit, talk through your goals, and provide a clear written estimate that spells out the work.
Is primer necessary before painting new drywall?
Yes. Joint compound and drywall paper absorb paint differently, and without a primer the finish coat can look blotchy, with seams showing as dull or shiny bands. A dedicated drywall primer seals both surfaces evenly so your paint goes on uniformly. To get started on your finishing project, reach out through our contact form.